Hello, and welcome to this post detailing how to solve the TryHackMe room “Cyberheroes“, a beginner room marked as Easy, with an estimated time of 15 minutes to complete.
In this room, you are trying to prove you are worthy of joining an elite club of hackers called CyberHeroes. To do so, you are challenged to find a way to log into their site.
Task 1: Cyberheroes
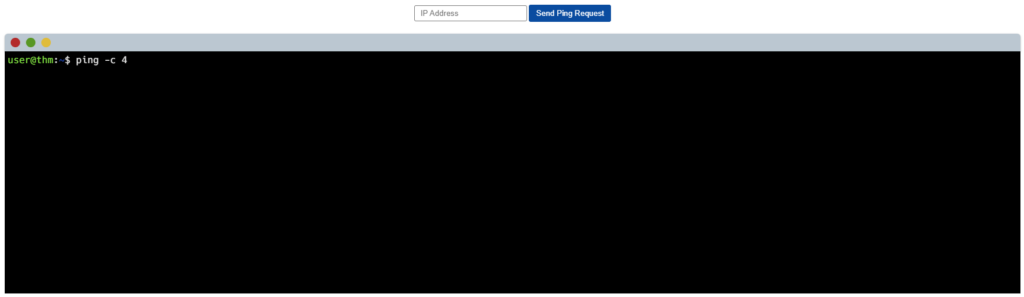
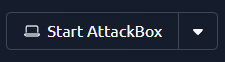
Start by firing up both the Attackbox (using the button at the upper menu):
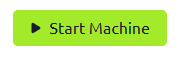
And the target machine (which can be done from inside Task 1, by using the “Start Machine” button):
Wait until both machines are up and running. The AttackBox will open up in a side panel of the window, while you can verify the target is up by checking the status bar under “Target Machine Information“:

Checking a bit further down in the task, you can see the question we need to answer to pass the room is:
Uncover the flag!
Once both machines are started, from the AttackBox (which runs Kali Linux), start FireFox and navigate to the URL presented in Task 1 (which will reflect the IP address from the “Target Machine Information” above. In my case, the URL is http://10.10.19.27; yours will likely be different).
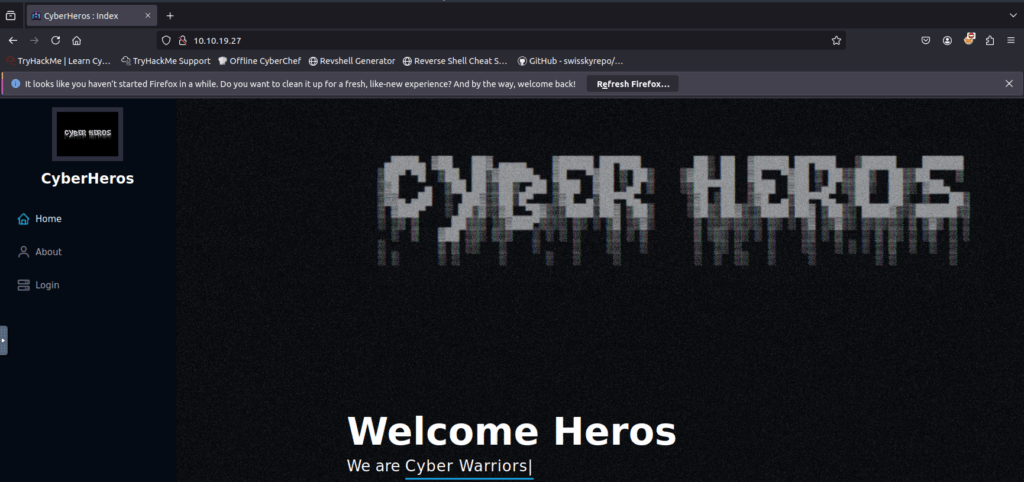
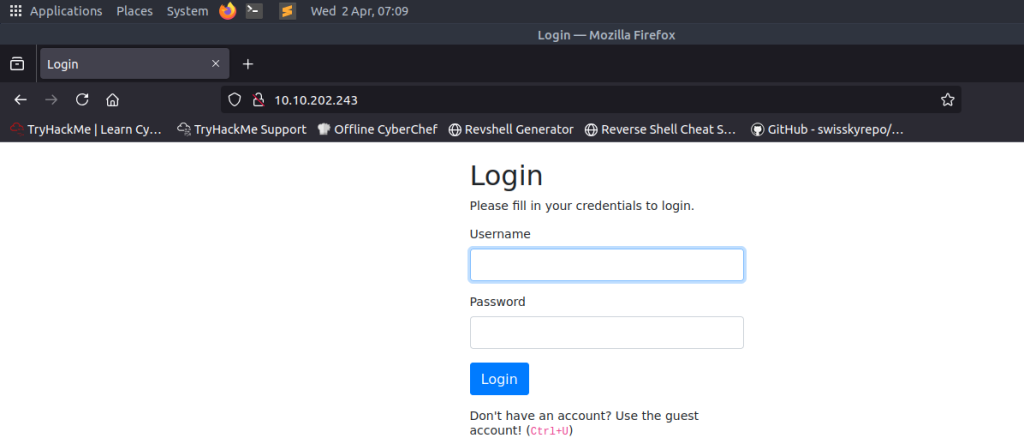
There’s not much to go on when checking the Home or About screens, but using the Login link brings us to the login page we are supposed to enter.
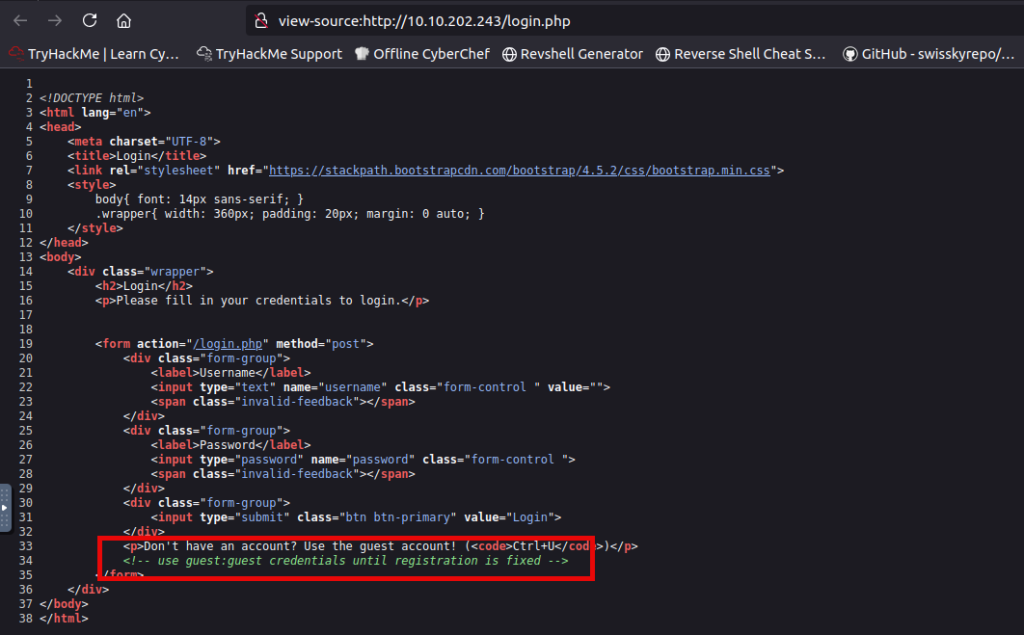
A good approach for any hacking challenge is always to check the source code of the page. It can, for instance, show you some of the directories that exist on the target, it might show you which sort of CMS (Content Management System) portal is used to generate the site (which might contain vulnerabilities you could exploit), or sometimes it can contain forgotten developer comments or hints.
To do so, use CTRL + U, which on FireFox will show you the source HTML of the page. Alternatively, you can right-click the screen and select “View Page Source” from the pop-up menu:

In the source code, you will notice a JavaScript function called authenticate():
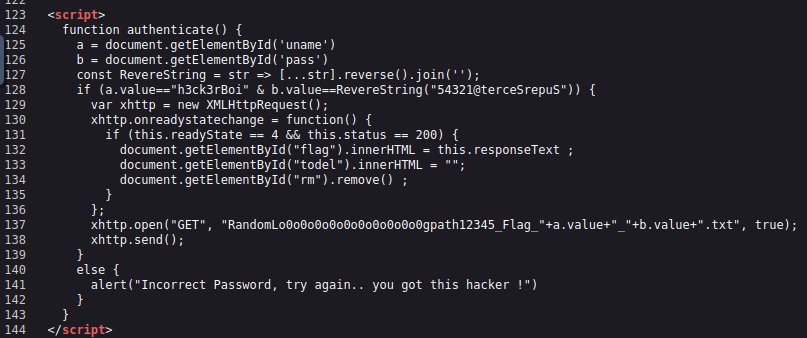
If you carefully look at line 125-128, a variable called “a” is defined, which is set equal to the “uname” element on the page. The next line defines a variable called “b“, which is set to be the value of the “pass” element.
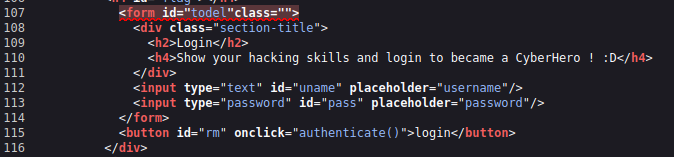
Just above the function, it shows the elements in the snippet are actually corresponding to the username and password boxes on the Login Form:
Line 127 defines a function called ReverseString, which basically just reverses the order of the string fed into it. So “Apple” would become “elppA”. Pretty simple.
Finally, Line 128 checks if the value of “a” (username) is equal to “h3ck3rBoi“. There’s one part of our puzzle. The next part uses the reverse value of “b” (password) and compares it to the hard-coded value “54321@terceSrepuS“.
Reversing that, it’s obvious the password needed is “SuperSecret@12345“.
Use those credentials to sign into the login page, and click the “Login” button.
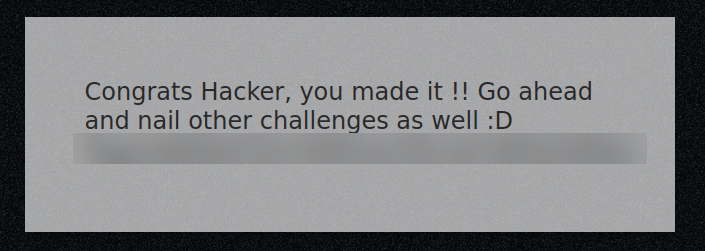
flag{edb0be532c540b1a150c3a7e85d2466e}
That concludes this tutorial. I hope you enjoyed it!